Storyboarding: what is it and how to use it correctly?
[ez-toc]
Although storyboards have been around for decades, it seems that in recent years they are finally being given the importance they deserve. These graphic elements are essential for various industries, including film, television, advertising, video games and digital marketing, and they are so because they allow creators to visualise their ideas before starting the production process.
A good storyboard greatly facilitates the planning and organisation of any kind of creative project while helping to communicate the vision of the project to all members of the team, thus ensuring a more efficient and consistent execution. It's time for you to discover what it is and how to develop yours!
What is storyboarding and what is it for?
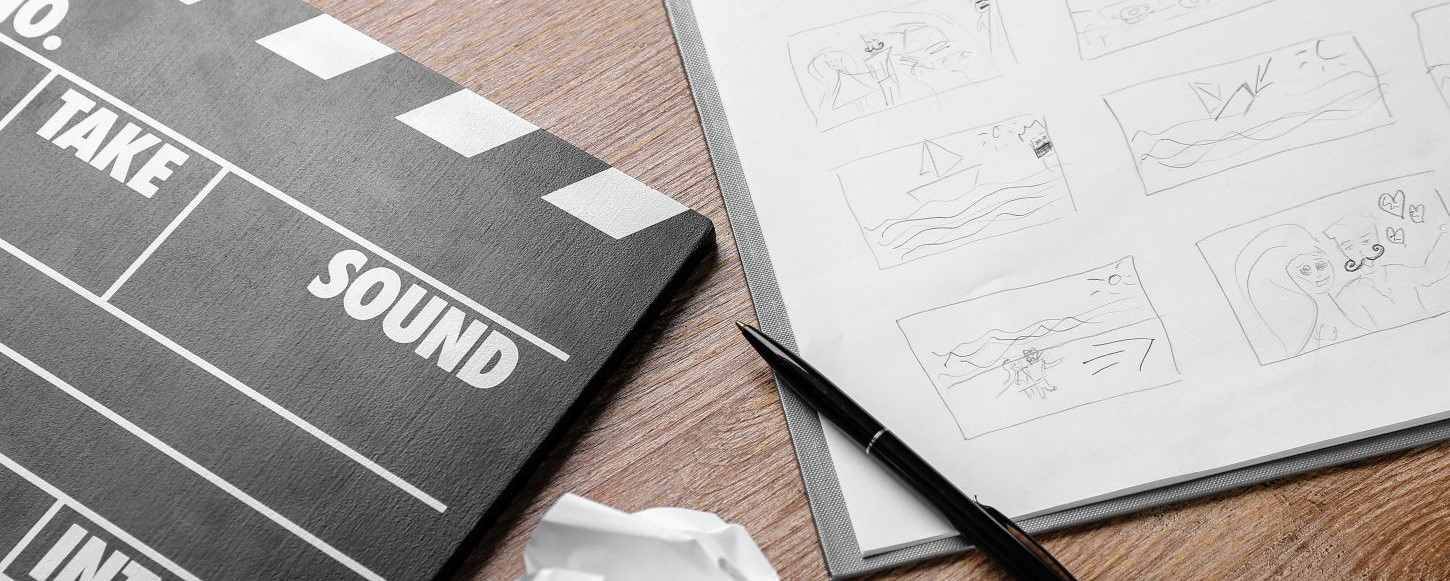
A storyboard is a visual representation of a script, so it is made up of a series of illustrations or images arranged in sequence. These illustrations show how a story will unfold, including details such as camera framing, movement and dialogue.
As our students of the Degree in Audiovisual Design and Illustration will learn, storyboards are fundamental tools for pre-production in film and television, as they allow to plan each shot and sequence in detail before filming, which saves a lot of time and money for producers and allows those in charge of the project to have a much clearer idea of the steps to follow once everything is underway.
In advertising and digital marketing, storyboards are used to develop promotional videos and explain the user's experience with a product or service. By creating a storyboard, you can visualise how your ads or marketing videos will look before you produce them, allowing you to make adjustments and improvements before you get started. They are also useful for illustrating concepts to customers and investors, as they provide a physical medium on which to rely when conveying complex ideas in a clear and effective way.
How do you create a storyboard?
Creating a storyboard may seem like a simple concept, but our students on the Bachelor in Multimedia and Graphic Design are already beginning to realise that good skills with graphic tools are not enough: it can only be successful if you know exactly how to do it.
That's why we've put together a brief step-by-step guide on how to create a storyboard, from the conception of the idea to its presentation in society.
- Before you even start working with your hands, it's important to be clear about what your project is about and what kind of audience you're targeting. This will help to focus the narrative and adapt the storyboard style to the needs of the viewer.
- Developing the narrative structure and dividing the story into scenes is essential. Each scene should represent an important moment in the narrative. You can use cards or post-its to organise and rearrange the scenes as needed.
- Select appropriate tools, from paper and pencil to specialised software, including mobile applications that facilitate the process and allow you to add interactive elements as well.
- Plan the framing of each scene, from the position of the characters to the elements in the background. It is best to use quick sketches to visually represent these decisions before they are lost in time.
- Add dialogue and descriptions in each vignette, any kind of detail that serves to explain the action.
- Marking camera movements with symbols or arrows, as well as transitions and other visual effects important to the scene, makes the storyboard easier to understand.
- Once the storyboard is finished, it is necessary to revise and improve the ideas so that the story flows coherently.
- Finally, all that remains is to share the storyboard and gather as much feedback as possible. This will allow you to make the final corrections with which to approach any type of presentation with maximum guarantees.
Free tools to create a storyboard
Nowadays there are a multitude of free online tools that allow you to create storyboards with professional results, platforms that facilitate the visual planning of projects for any type of objective. To do so, they offer templates and resources that our students of the Master's in Graphic Design will be able to make the most of, and these are some of the most attractive ones!
- Canva is a tool that offers a wide variety of themes to make a storyboard. It allows you to customise each frame with images, text and other graphic elements. In addition, it can be used to collaborate in real time with other professionals, facilitating teamwork even if you don't share a physical space.
- Visme allows you to create customised storyboards using its templates. It is perfect for users looking for an intuitive tool with drag-and-drop options, as well as easy sharing and downloading of projects.
- Miro is a collaborative platform that offers storyboard templates and an infinite canvas on which to work in teams. It makes it very easy to organise ideas in complex projects, allowing you to add images, notes and other elements.
Put them to the test using all your graphic design skills, choose the one that best suits your project and start creating storyboard after storyboard - you won't believe how easy it is!

